
My 14 year-old daughter loves to make and decorate cakes. She made this cute spider cake for Halloween. This was the first time that I gave her absolutely no help in the making or frosting of a cake. (I somehow got stuck cleaning up though!) I'm sharing this here in case you are … [Read more...] about Spider Web Halloween Cake (GF & DF)
Recipes & Cooking Tips
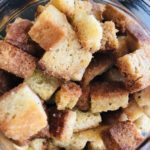
Gluten-Free Croutons Recipe
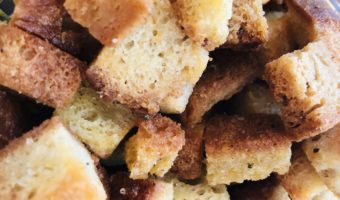
Make your salad more exciting with gluten-free croutons! You heard me right! This is my super-easy no-fail recipe for making croutons. Using leftover store-bought gluten-free bread, or stale homemade bread, and some salt and spices, you can make a delicious crunchy addition to … [Read more...] about Gluten-Free Croutons Recipe
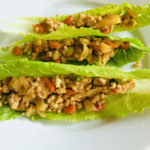
Gluten-Free Asian-Inspired Chicken Lettuce Wraps Recipe
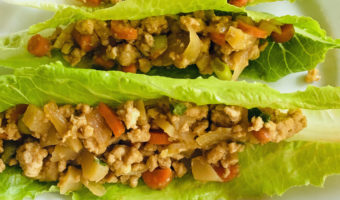
If you have ever eaten at PF Chang's, you have probably tried the chicken lettuce wraps -- and yes, they do have a gluten-free menu and you can order these gluten-free. If you don't live near a PF Chang's, don't fret — you can make your own. It's so easy to make this Asian … [Read more...] about Gluten-Free Asian-Inspired Chicken Lettuce Wraps Recipe
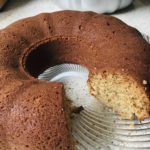
Banana Bread Bundt Cake
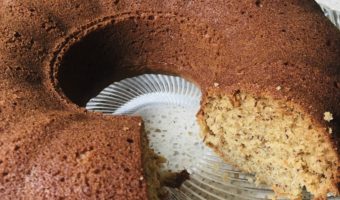
This banana bread recipe came to me by way of my daughter's lacrosse coach, a really nice young man, who sent the girls on the team an old favorite recipe of his as a way to keep the girls connected during this time of shelter-in-place. I made some changes to the original recipe, … [Read more...] about Banana Bread Bundt Cake
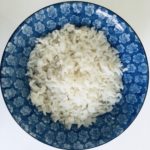
Easy Yummy Coconut Rice
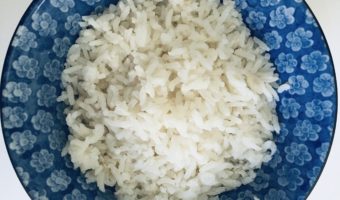
I hardly ever make rice other than Coconut Rice. It is so satisfying with its rich flavor and texture. It really doesn't taste much like coconut, if you are worried about that. It is so yummy with stir-fry and curries, for rice bowls and even in chicken soup instead of noodles. … [Read more...] about Easy Yummy Coconut Rice


what people are talking about